
In creating this portfolio I needed a place to document my various tech and cybersecurity projects I will be completing so that others can follow along and see the what Ive done. I needed to create a website to showcase these projects. There are a lot of ways to do it, but I wanted to make sure it was inexpensive and I wanted to show that it could be done by myself. It overall was a great way for me to learn and showcase my abilities and to show others that you can do it too in just a few short dedicated hours.
This guide I created will give you the step by steps to create your own self hosted website quickly and securely.
Open an account with Digital Ocean
Digital is a cloud based provider that offers cloud computing services and IaaS. We will be using them to deploy a web server via a cloud based Virtual Machine. Currently they are offering $200 in credit when you sign up on their site for an account https://www.digitalocean.com
Create a project
Now once signed into your account you will land on your dashboard and will need to create a new project by selecting ‘+ New Project‘ from the left side menu under ‘Projects’. Go ahead and give your project a name, description and tell what its for, then select ‘Create Project‘.
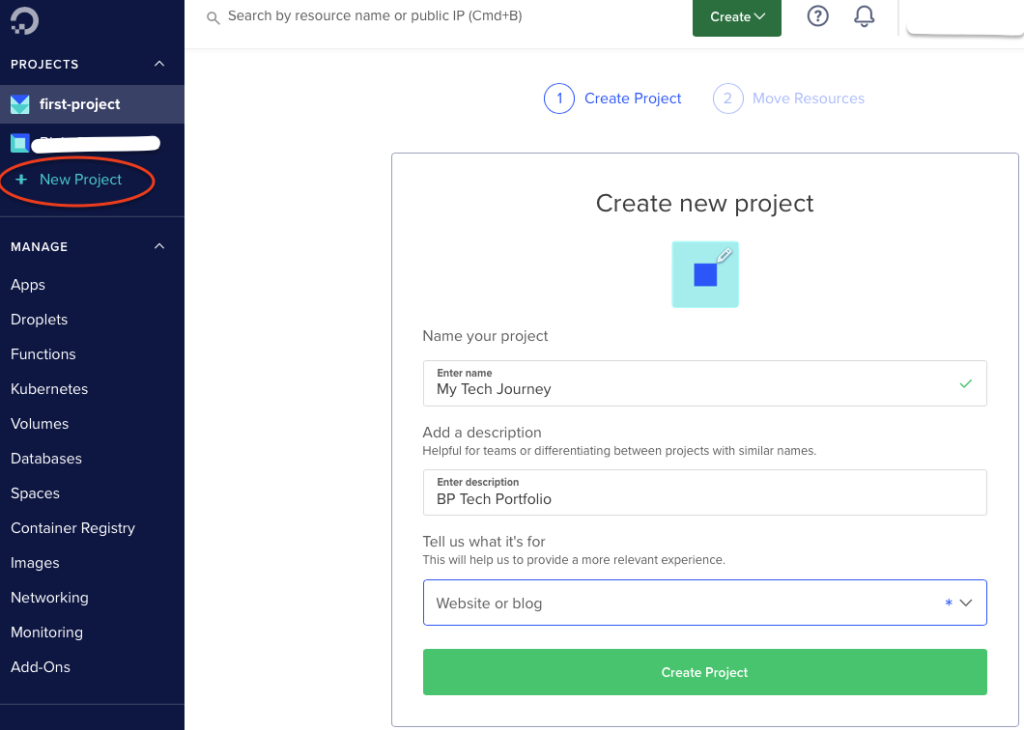
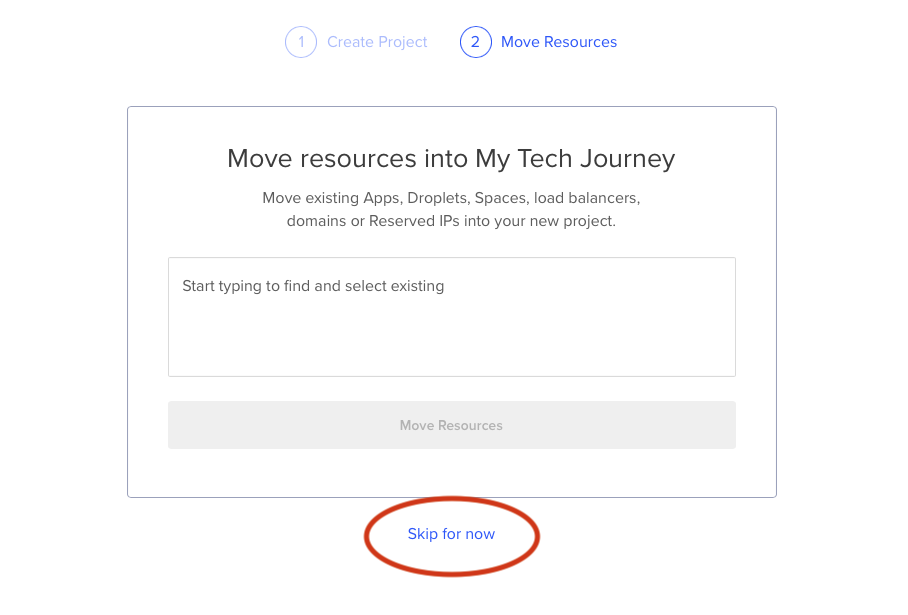
The next page they should ask you about moving resources into your project, you can select ‘skip for now’.
Creating a Droplet
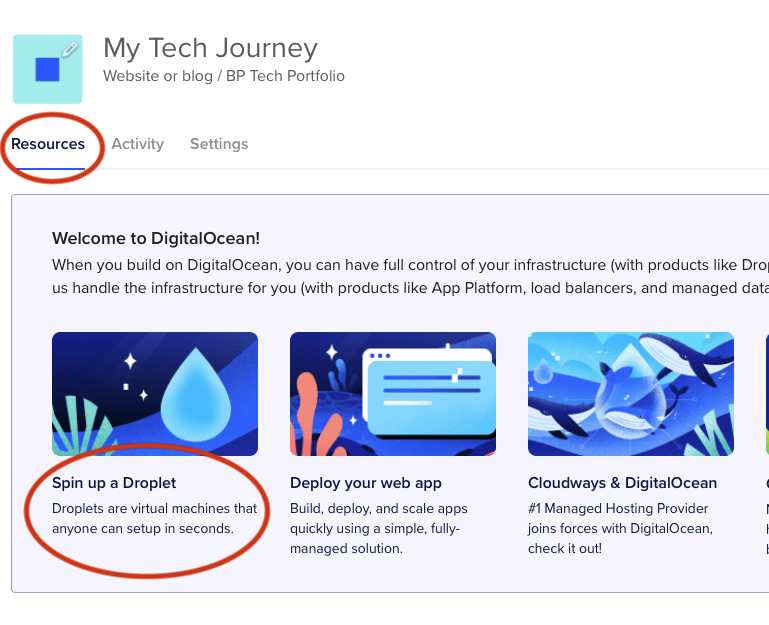
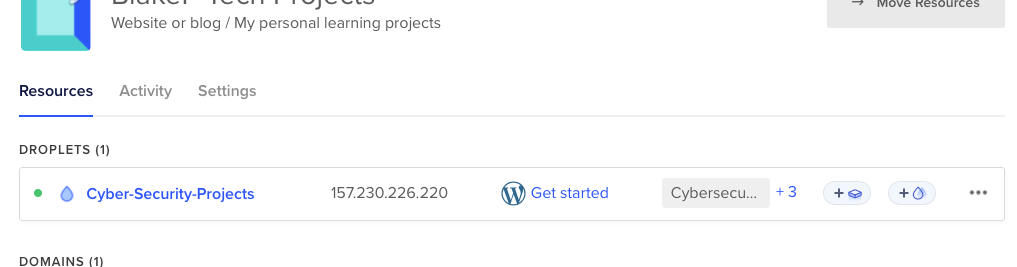
Once you’re on the next screen, under the Resources tab select Spin up a Droplet
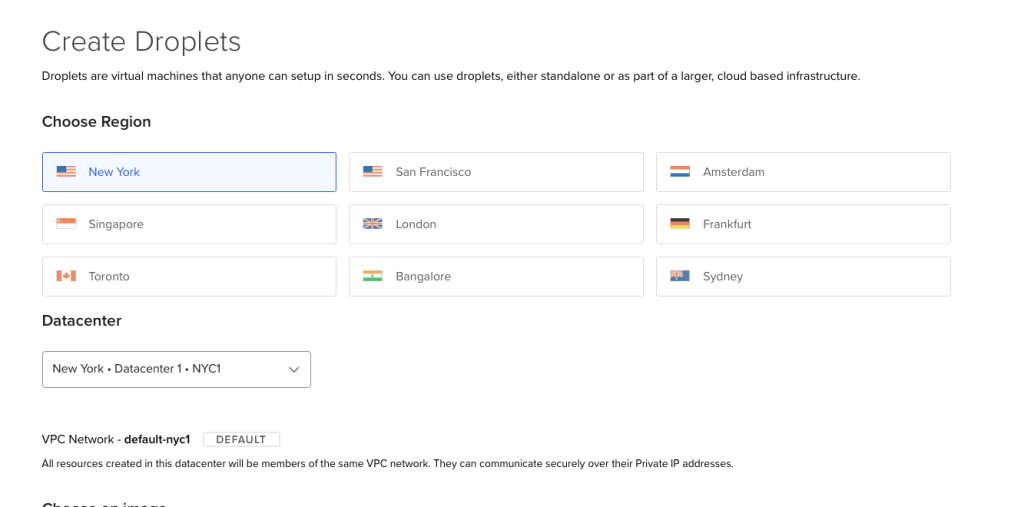
Next you will need to select a Region and Datacenter (I recommend you select the one closest to you to avoid any latency).
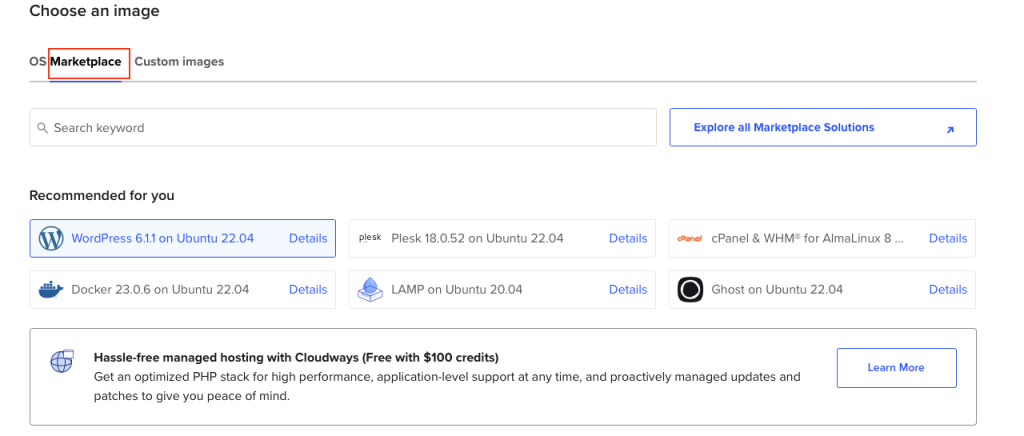
Next scroll down to select your image. For this you will want to select the Marketplace tab and select WordPress.
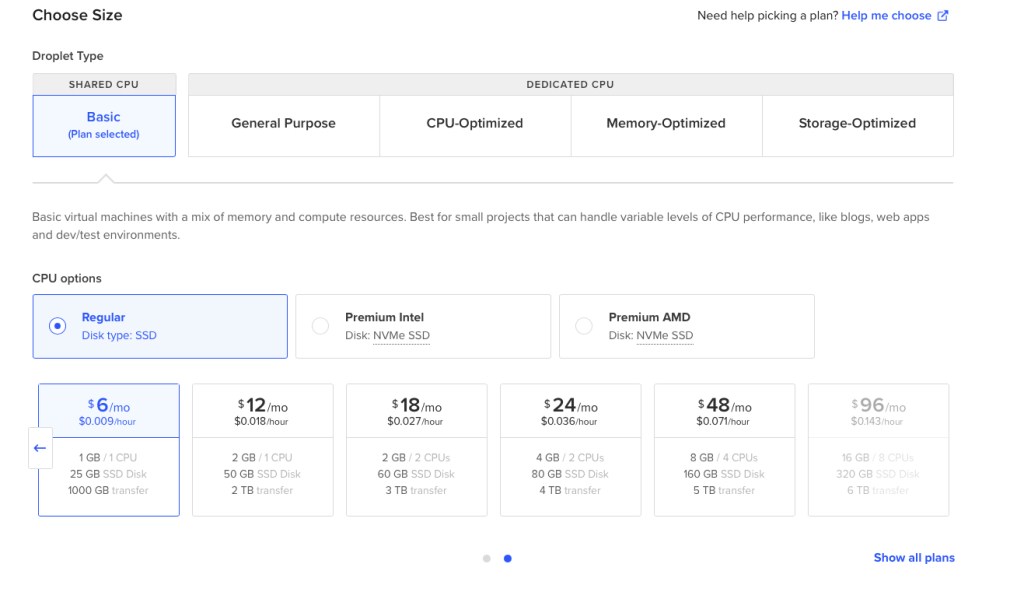
Once done scroll down some more. For my VM size I kept it pretty basic as I am planning on only running a simple blog site. You choose what best fits your needs.
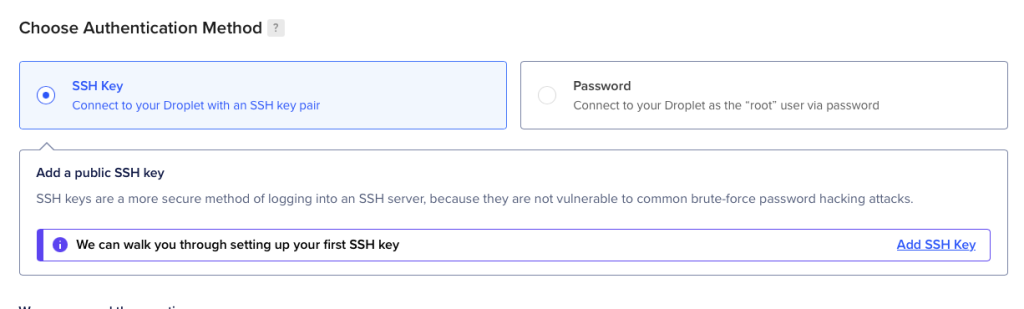
Now the fun starts. You will need to select your login method, I recommend using a Ssh key as it’s more secure. If you do go with the password option I would recommend using a very long and strong password.
If you opt to to go with the SSH Key select Add SSH Key.
There will be instructions on the right side of this new form for Linux, MacOS, and Windows. I’ll be going with the MacOS set up. Follow along with the steps provided by Digital Ocean to create a new key pair.

Once you add the public key where you are prompted to do so, add a name and select Add SSH Key to finish it. Doing this will allow you to login to your virtual machine using SSH.
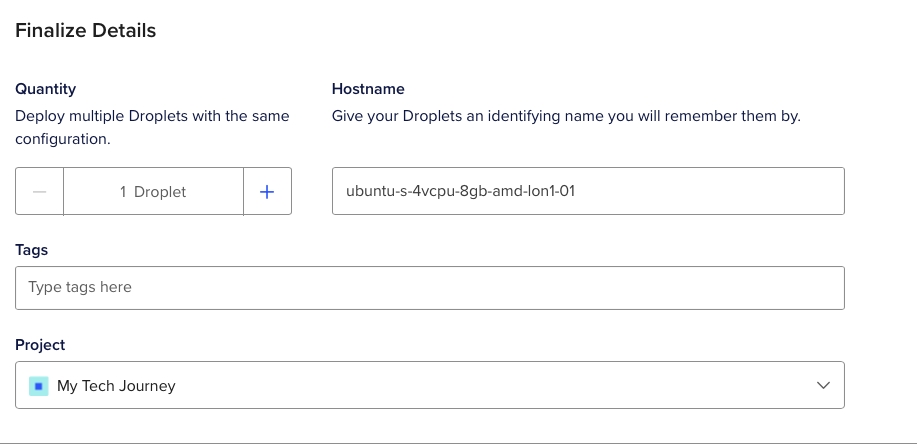
Now you can Finalize Details by adding the hostname you’d like to use, some tags and then selecting Create Droplet.
Give it a few minutes and then your Droplet will be up and running and will provide you with the IP address. This Droplet or VM is where your new website will be stored, and the IP address is how people will access it. Make sure you keep note of the IP provided as you will need it for later.
Purchase a Domain
To technically visit a site you would just need a IP address but nobody wants to remember a bunch of numbers every time they want to visit a site. That’s what DNS is for, it maps the domain name used to locate a website to the IP address that a computer uses to locate the website. Its easier to remember google.com vs 142.251.35.206.
To get a name for your website you’ll have to purchase the domain first. There a some inexpensive providers out there ie, GoDaddy, Domain, BlueHost, I opted to use NameCheap.com which was fairly easy to work with and are offering a discount for first time purchasers (at the time of this post)
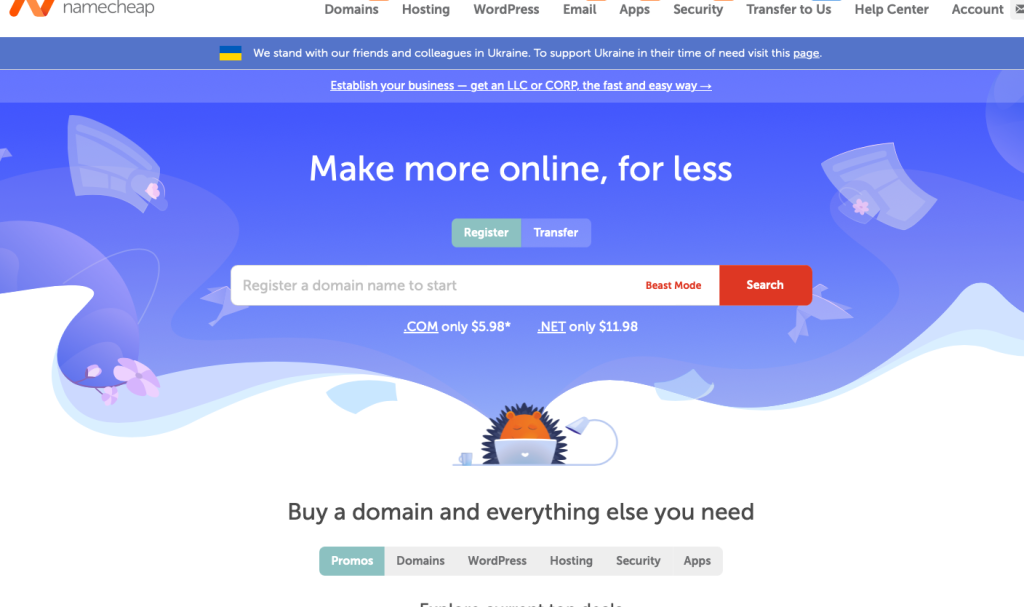
For this demonstration I will use Name Cheap, from the home screen you will need to create and account and login, once done you can go ahead and search for the domain name you would like to use to see if it is available, if the name isn’t there then its already in use so just switch up the name to something that is available. Once you figured out your choice, add it to the cart and check out.

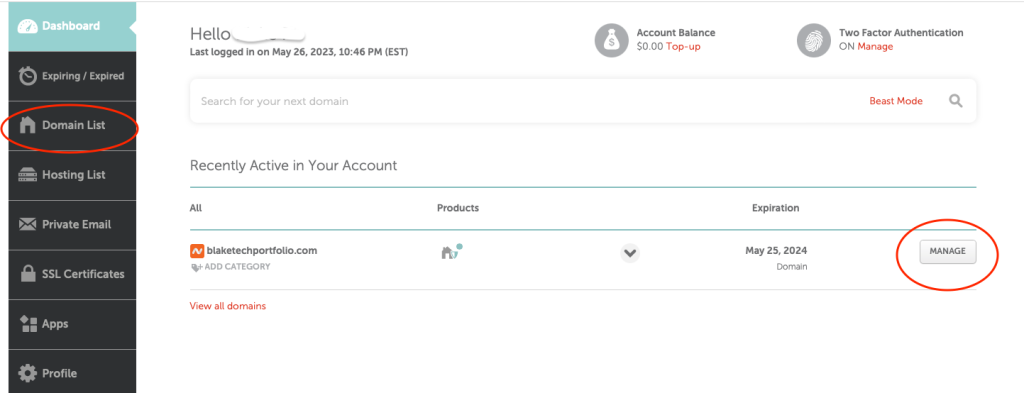
After purchasing your Domain Name you’ll want to select manage at the bottom or you can do it from your account Dashboard.
Configuring the Domain
First step is to point your domain to the Digital Ocean Nameservers, to explain a nameserver in simple terms, it defines your domains current DNS provider. To change the name servers you’ll need to log into the Domains registrars account management section, once logged in you can follow the directions listed here for your registrar. Again I used NameCheap so that’s the steps I will show you.
Sign into your account and at your Dashboard screen you should see Domain List in the left side menu, Locate the domain you want to configure and select the manage button next to it.
Scroll till you come to the NameServer section, from the drop down select Custom DNS and you will need to enter the nameservers shown.
Then click the green check mark to apply changes.

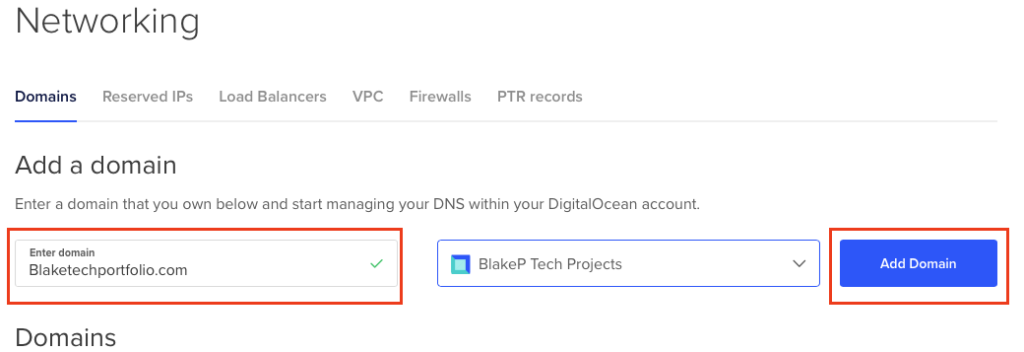
Once you have pointed your domain at the DO nameservers, you can move on to managing its DNS records. I will show you how to do through the DO control panel, from your DO home screen, enter the Networking page and then enter your Domains.
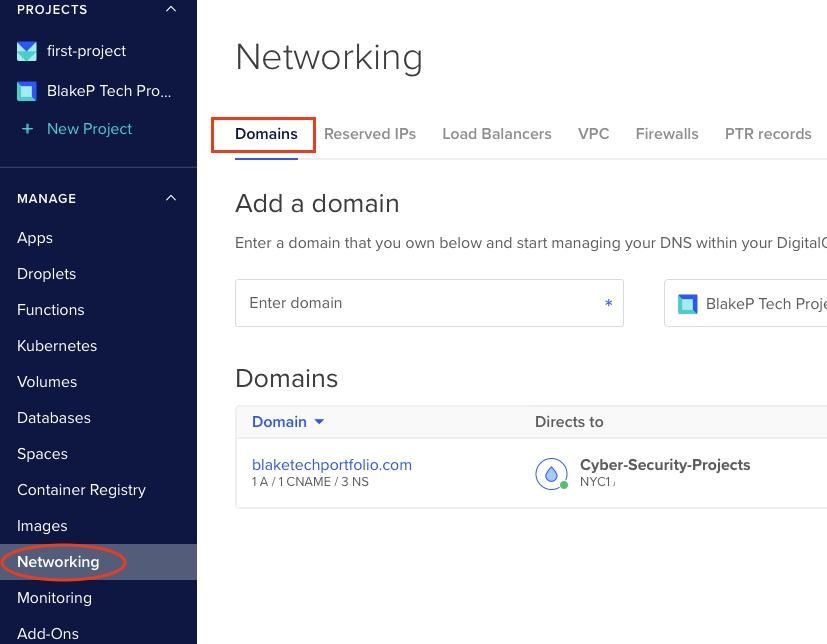
Next you will need to add your domain that you’re created/purchased so that you can start managing your DNs within your Do account. Once you have entered it in, press Add domain
If you see some DNS records already in place go ahead and delete those.
Now let’s go ahead and add our own records.
First is the ‘A’ record. An A record maps an IPV4 address to a domain name, this determines where to direct any request for a domain name.
In the Hostname field just use the @ symbol and it should auto-populate with your created domain and for the WILL DIRECT TO field If you click within the box it should give you a dropdown which you can select your droplet from the menu, you can also enter in the IP address that was given to you when you created your droplet.

One you have entered the A record what we will need to do is the CNAME, this record defines an alias for the A record, it points one domain to another domain instead of an IP address. So if the A record IP changes the CNAME will follow to the new address. So for example if your subdomain is blog.example.com you can link it to example.com and it will still route people to the correct IP address.
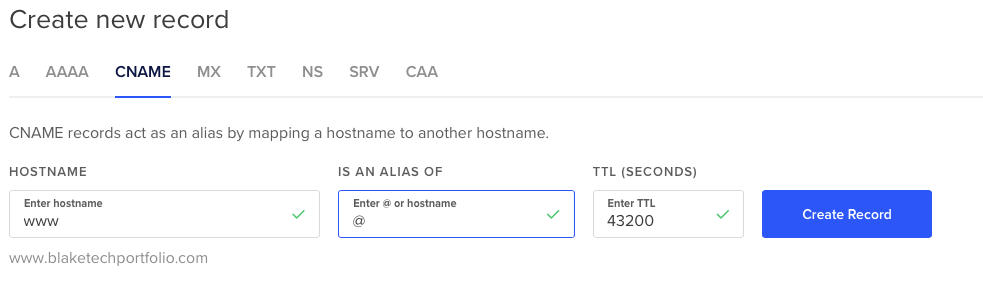
For both record changes your TTL can remain as the preset. TTL or time to live determines how long the record can be cached before it expires. Higher TTL gives visitors faster performance and lower TTL values ensures that DNS changes are picked up quickly.
Install WordPress on your Droplet (VM)
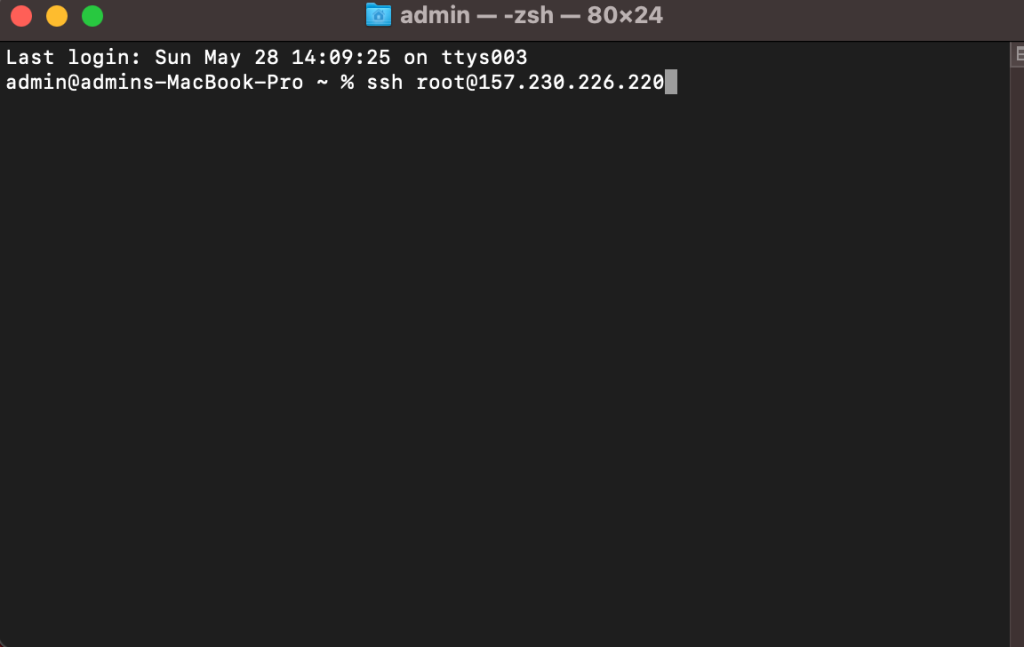
Digital Ocean makes the process to setup your server pretty simple. All you have to do is log into your server using the SSH we setup before. Again I’m using Mac so I used terminal. Once terminal is opened enter the ‘ssh root@(your IP)‘
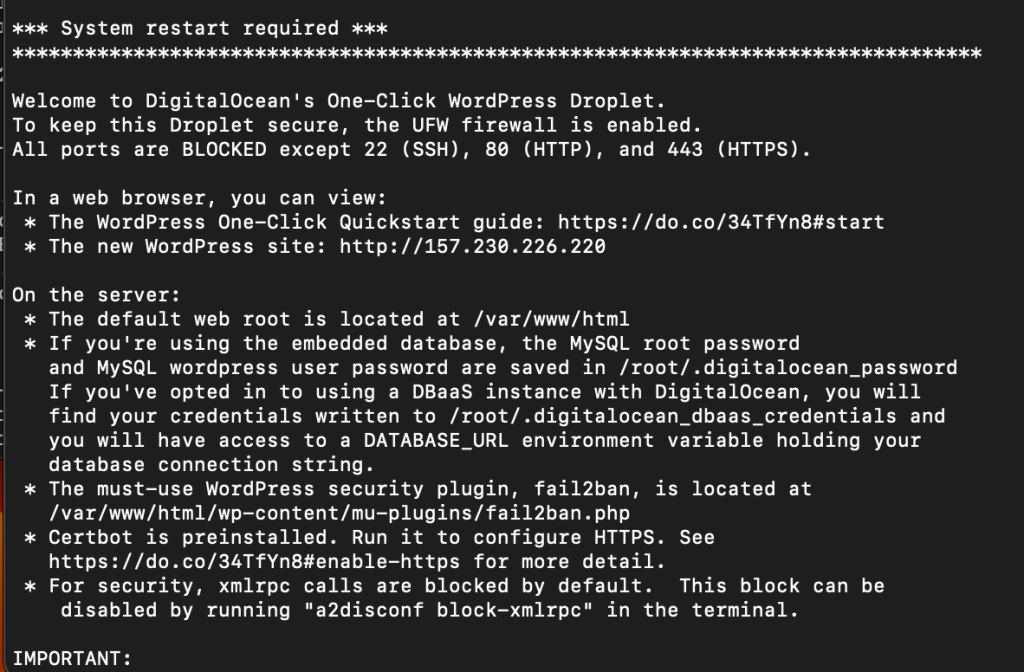
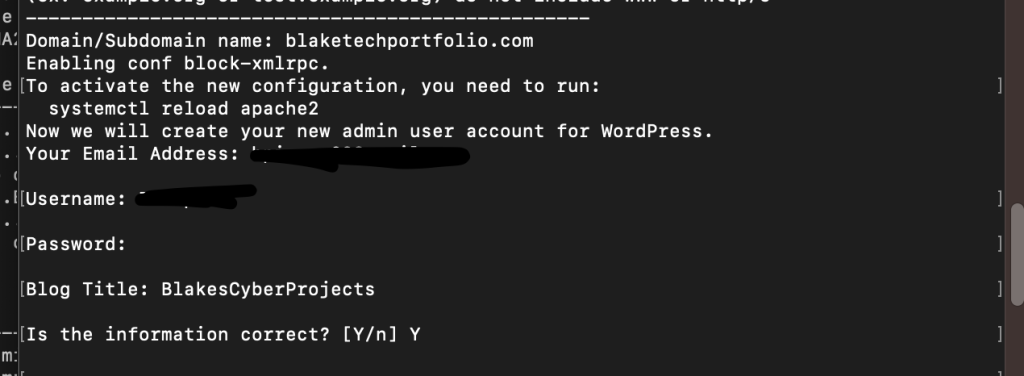
Once done and you entered in the passphrase you created DO’s script will start running and do the heavy lifting for you. When it stops it will ask you for the Domain name, so go ahead and enter in the one your purchased.
The Script will continue and ask you for your email. Then a username and password to login to the WordPress server. Please remember them as they will be your credentials to log into the back end of the website where you can make edits. You can also create a title for your website when it prompts you to do so, when you’re satisfied enter ‘Y” to confirm and continue.
Configure SSL
As the script continues it will assist you with a real SSL certificate, it can verify the domain you set up previously while configuring the domain records with the registrar you used. SSL is a protocol that was created for encrypting Internet traffic and allowing our server identities to be verified. You’ll notice that in the URL bar on some websites that you visit the address begins with ‘https’ vs ‘http’ that’s a SSL certificate and you can be sure any data you submit is secure.
The script will use a program called certbot to help you configure the SSL, so select ‘Y’ when you’re ready to continue.

Enter your email when prompted as this will allow you to be notified of renewal and security notices.
You will then be provided with a URL to go over the terms service and must agree to them once read. So enter ‘Y’ once you’ve gone over them.
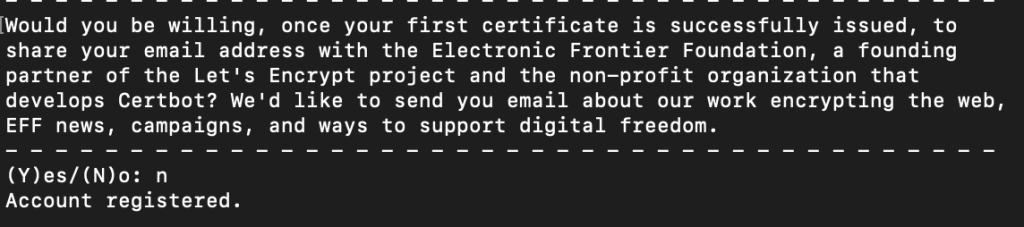
You will also be offered to opt into emails from Electronic Frontier Foundation
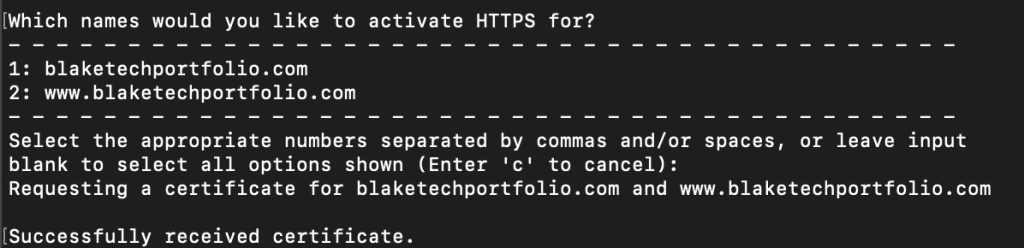
Now they will ask you which names you want to activate ‘HTTPS’ for and it should automatically show the two that you set the ‘A’ and ‘CNAME’ records for previously. Select enter to continue for both.
If done correctly it should work properly, but if you get an error you may want to check that you setup the DNS records correctly and try again. Once it runs successfully you should see a screen like the following..
Now you can go to your browser and and type in your address and should see a lock symbol next to the url to to let you know your site is encrypted.

Login to WordPress
Now you can Login to the back end of your WordPress to start customizing. Just add /wp-admin to the end of your address to get to the login page.
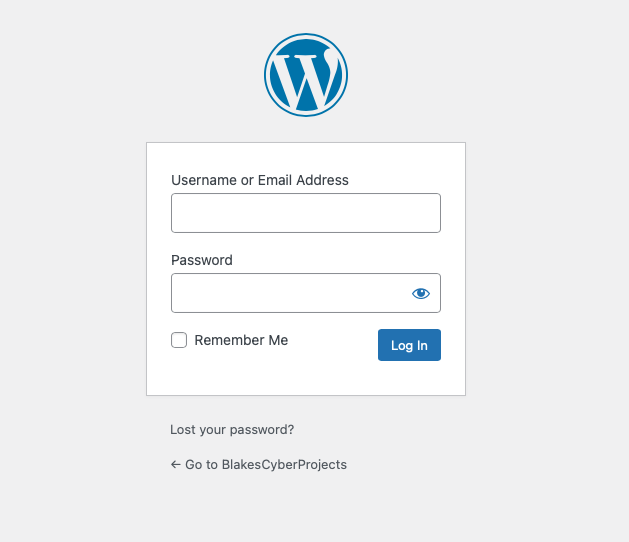
Once logged in you will be at the Dashboard where you can start building and customizing your site.
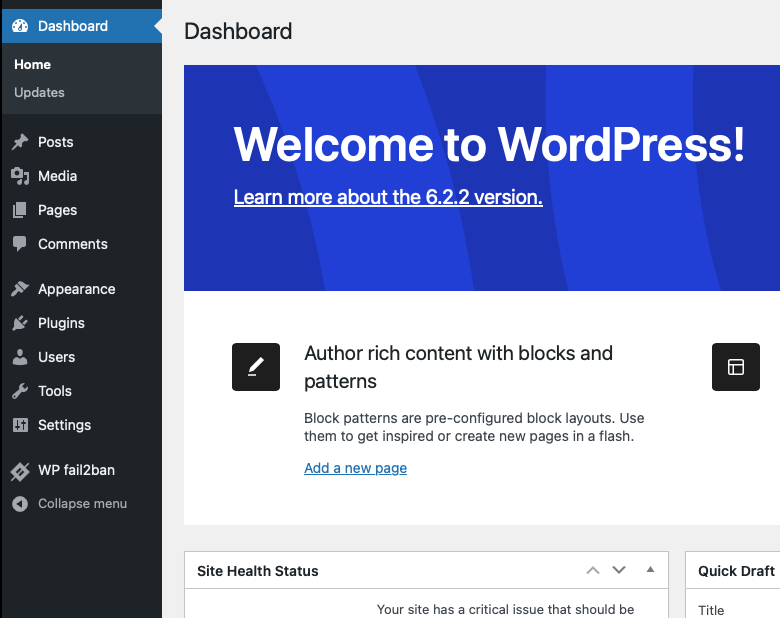
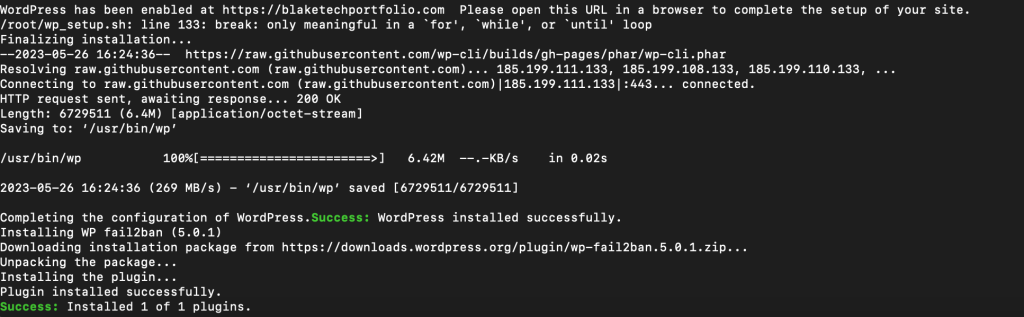
** Note: I would recommend going to the Plugins section on the left and activating the WP fail2ban plugin which helps protect your WordPress site from brute-force attacks, spam comments and other malicious traffic.